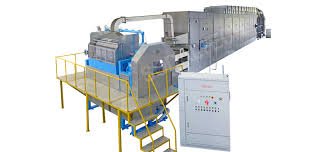
The pulp moulding industry has grown significantly in recent years due to the rising demand for eco-friendly packaging solutions. Pulp moulding machines play a crucial role in producing biodegradable trays, plates, and other packaging materials from recycled paper. For businesses venturing into this industry, setting up a pulp moulding machine correctly is vital to ensure efficient production, minimal downtime, and high-quality output. This guide will provide a comprehensive walkthrough of the pulp moulding machine setup and installation process, helping you get your production line running smoothly.
Preparing the Site for Pulp Moulding Machine Installation
Before installing a pulp moulding machine, it is essential to select a suitable location. The site should have enough space to accommodate the machine, raw material storage, and finished product areas. Additionally, the flooring should be level and capable of supporting the weight of the machine and its auxiliary equipment. Proper lighting and ventilation are also critical for the safety of operators and optimal functioning of the machine.
Apart from physical space, the site must have access to electricity and water supply, as most pulp moulding machines rely on both for operation. It is recommended to install a dedicated power line with appropriate voltage capacity to prevent electrical issues. Ensuring these foundational requirements are met before installation will streamline the setup process and reduce potential delays during commissioning.
Unpacking and Inspecting the Pulp Moulding Machine
Once the site is ready, the pulp moulding machine can be delivered and unpacked. Carefully remove all packaging materials and inspect the machine for any visible damage during transit. Check critical components such as the pulp slurry tank, forming molds, press units, and control panels. If any parts are damaged or missing, contact the supplier immediately to avoid complications during installation.
Proper inspection also involves verifying the technical specifications against the order. Confirm that the machine dimensions, production capacity, and mold types match your requirements. Ensuring all components are in place and functional will save time and prevent costly mistakes during setup. Documenting the inspection process with photos or notes is also a good practice for warranty claims or future reference.
Positioning and Aligning the Pulp Moulding Machine
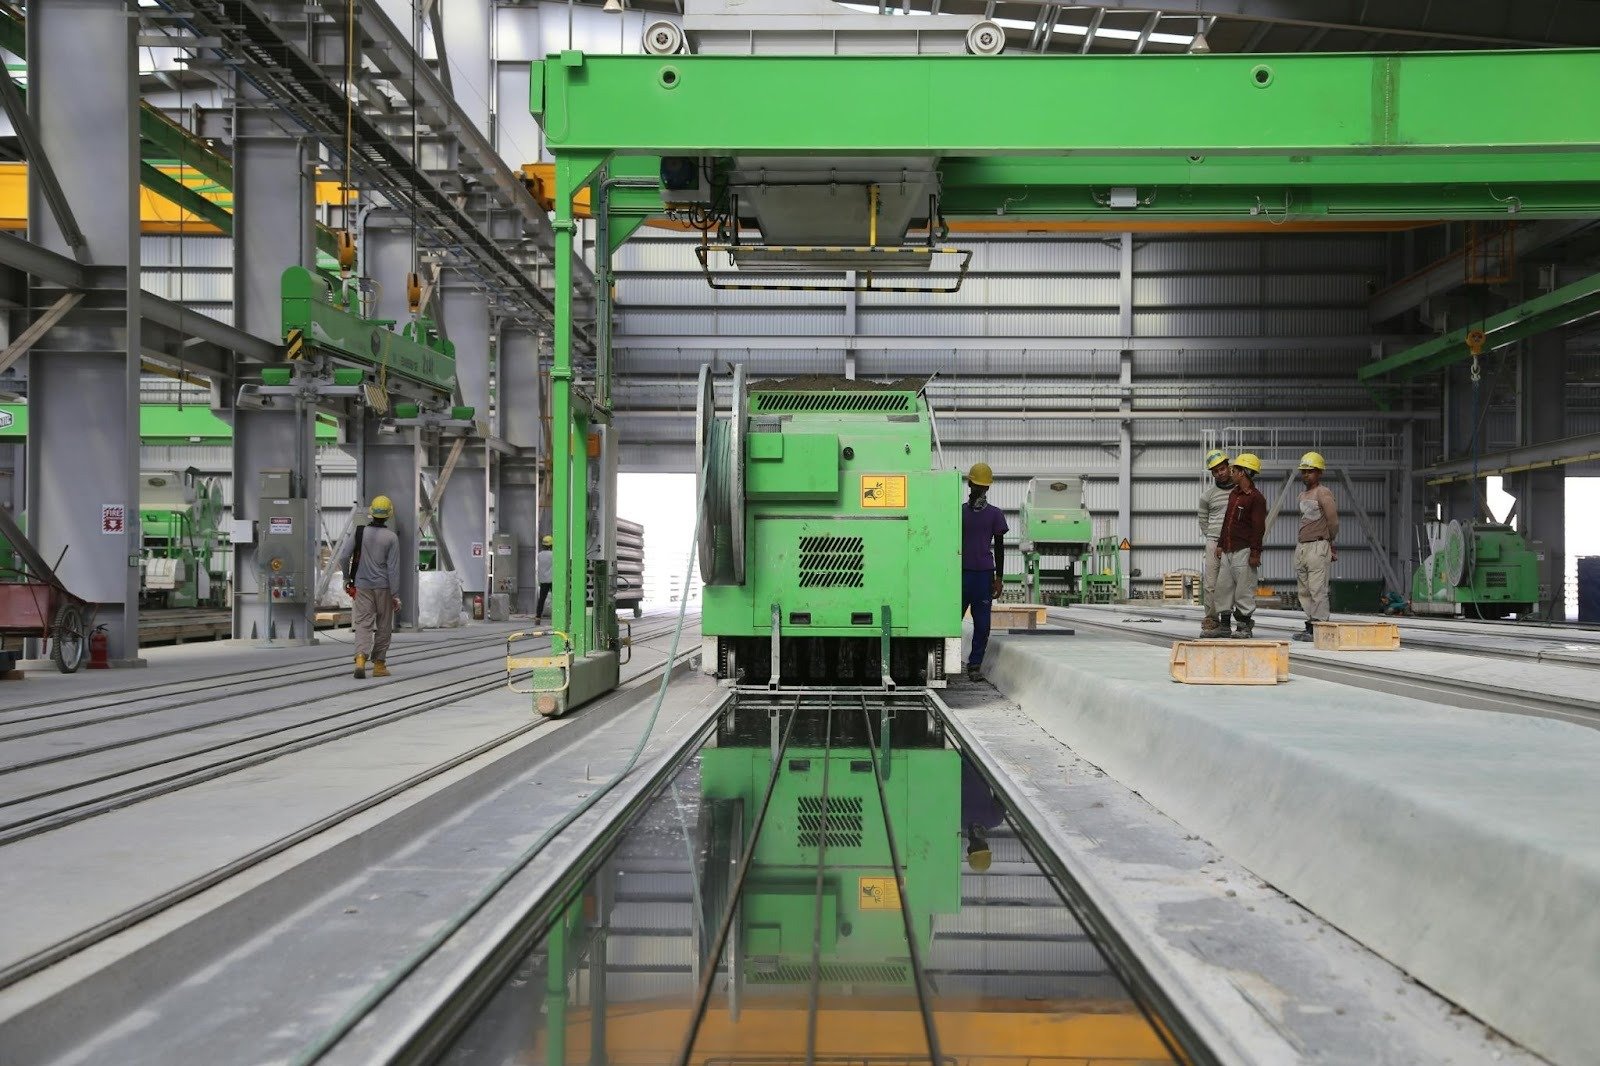
After inspection, positioning the pulp moulding machine is the next crucial step. The machine should be placed in a location that allows easy access for operation, maintenance, and cleaning. Ensure there is sufficient clearance around the machine to facilitate the movement of raw materials and finished products. Positioning the machine correctly can improve workflow efficiency and prevent accidents.
Alignment is another essential aspect of installation. Use leveling tools to ensure the machine is perfectly horizontal and aligned with auxiliary equipment such as conveyors, dryers, and stackers. Misalignment can cause uneven product formation, increased wear on parts, and frequent machine breakdowns. Proper alignment ensures smooth operation, consistent product quality, and prolonged equipment life.
Electrical and Water Connections for the Machine
A pulp moulding machine requires a reliable electrical connection to power motors, pumps, and control systems. It is crucial to follow the manufacturer’s guidelines for voltage, wiring, and circuit protection. Hiring a certified electrician for wiring and connection work is highly recommended to ensure safety and compliance with local regulations.
In addition to electricity, most pulp moulding machines require a water supply for pulp preparation and mold cleaning. Connect the machine to a stable water source with adequate pressure to maintain consistent operation. Installing filters or softeners may be necessary to prevent scaling and ensure the longevity of pumps and valves. Properly connecting electrical and water lines is critical to avoid operational interruptions and maintain optimal production efficiency.
Testing, Calibration, and Operator Training
Once the pulp moulding machine is installed, initial testing and calibration are necessary before full-scale production. Start the machine without raw materials to check the functioning of motors, pumps, and control systems. Gradually introduce pulp slurry and adjust mold pressure, vacuum levels, and drying parameters according to the product specifications. Calibration ensures consistent product quality and minimizes wastage during production.
Operator training is the final step in the installation process. Employees should learn how to operate the pulp moulding machine safely, perform routine maintenance, and troubleshoot minor issues. Proper training reduces the risk of accidents and extends the machine’s operational life. Additionally, well-trained operators can optimize production efficiency and maintain high-quality standards, ensuring the success of your pulp moulding business.
Conclusion
Setting up a pulp moulding machine is a critical process that requires careful planning, precise installation, and thorough testing. From selecting a suitable site to training operators, each step influences the machine’s efficiency and product quality. By following this installation guide, businesses can ensure a smooth start to their pulp moulding operations, reduce downtime, and produce eco-friendly packaging solutions consistently. Investing time and effort in proper setup and installation ultimately leads to long-term benefits, higher productivity, and sustainable growth in the pulp moulding industry.


Leave a Reply